

Artwork Setup
The artwork setup is the process you will go ensure your artwork is ready for print. As one of the fundamental parts of the overall process, it is important to setup your artwork correctly and to think about each step carefully in order for what you see on your screen to translate to your physical notebook.
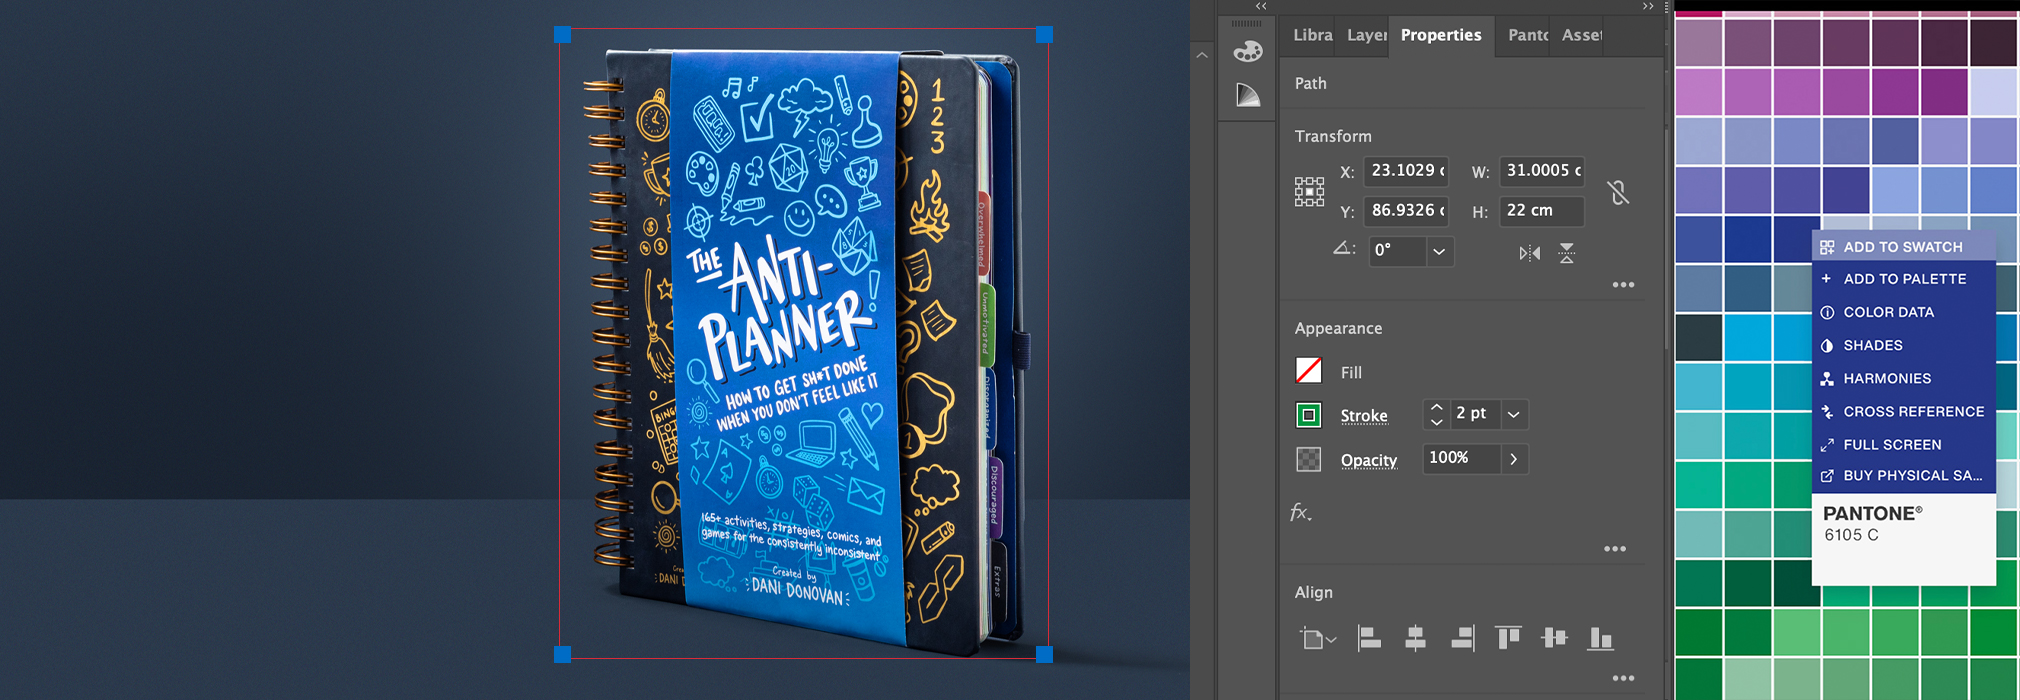
To set up your artwork it’s best to use some of the softwares available in Adobe Suite. Here’s how you can utilise the Adobe Suite effectively:
1. Adobe Photoshop: Use this for general photo editing, resizing images and exporting them for print format. That’s 300 dpi resolution and CMYK colour profile.
2. Adobe Illustrator: Use this to create and manage vector graphics (.EPS, .AI, or .PDF). We ask that you create/edit your notebook cover art, company logos and gift box designs using Illustrator.
3. Adobe InDesign: Use it for layout design, especially for print materials like brochures and notebook inserts. It allows you to include bleed marks, perforations and export your document in CMYK colour and a spread format.
Your artwork is in Canva: While Canva is a fantastic tool for creating concepts and mock-ups, it does not produce files that are suitable for professional printing. Designs made in Canva typically need to be converted into print-ready PDFs, which involves ensuring correct bleeds, colour profiles, and vectorisation of text and images where necessary. We can assist with this conversion process, with costs ranging from £150 to £1,500 depending on the complexity of the design.
Quick checklist for your artwork;
Colour – Is your artwork in a CMYK colour profile?
Image Quality – Images must be at at least 300 dpi for quality, non pixelated quality. Make sure all images are embedded in your document to avoid broken links.
- Vectorising Text – ensure all text you place in your Illustrator files are ‘outlined’.
- Bleed – Export your artwork with a 5mm bleed to create seamless edges.
- Size – Want to print in A4? Your file size must be A4.
- Pagination – Ensure your file is exported in the correct page order
- Spelling Check – Ensure all your spelling is correct, it is not the printer’s responsibility to check this.
- File Type – Check all your files are exported to the required type.
- File Naming – Are your files named correctly and clearly?
Cost of Design Services
If you do not have access to the Adobe suite or a design team, we are able to help with your artwork setup. For basic cover designs, logo reworking/vectorising and basic layouts; our design team is available for £35.00 per hour.
If you’re needing assistance on a larger project which involves designing the majority of your notebook then depending on the complexity and scope of the project, creating a custom notebook can range from:
Basic Design: Approximately £200 / $250
Complex Design: Up to £2,000 / $2,500
Cover Artwork
Depending on the customisations you choose, such as foiling, debossing, UV printing, or a fully printed cover, different artwork requirements apply. Learn more about cover artwork for each customisation option in the [Cover Artwork] section.
Inside Page Artwork
You’ll need to ensure that all artwork for the pages is correctly formatted with the appropriate bleeds, colour profiles, and alignment. For full guidelines, visit the [Inside Page Artwork] section.
Book Block Structure
The structure of the book block refers to how the notebook’s pages are arranged, how to set up pagination, order of content, and any special features like inserts or perforations. Detailed information on structuring your book block can be found in the [Book Block Structure] section.
Notebook Proof
This visual representation shows how your notebook will look, including artwork placement, colours, and any other customisations. Reviewing and approving the proof is an essential step to ensure everything is accurate before printing.
Colour Profile
With colour printing, it is important to remember that what you see on a screen will always be slightly different in print. For print you must always provide artwork in CMYK or Pantone – both of which will appear differently to RGB values. Remember RGB = Screens, CMYK = Print.
Bleed
The bleed is an extension area of your artboard that will always be trimmed off after printing, it is there to avoid any white lines when the pages are trimmed to size. With the help of a bleed, your images will be completely borderless.
Pagination
Pagination refers to the numbering of pages in a document. This can be set automatically by programmes such as InDesign. This should be done on your ‘Master’ pages, so that the design of your page numbers will be coherent throughout the document.
Printer Marks
Printer marks act as a guide to line up edges perfectly ensuring your artwork sits exactly where you want it to sit. The marks can be set up at the very start of your file setup or during the export stage. These marks will be printed but will not be included in your final artwork: they will be physically cut off in post press.