
Bleed
For any images, artwork or background colours that you want to be printed to the full size of the page, or up to any edges of the page, you will need to include a ‘bleed’ in your document. This is always 5mm. It is an extension around the outside of the page to which you need to extend your images to. In short, the bleed is an area that will always be trimmed off after printing, but it is to account for any small inaccuracies when the pages are trimmed to size to ensure the page does not have any white lines around the edges. With the bleed, your images will be borderless. If using Adobe InDesign, you can add the bleed at the beginning of your document setup, or after you have set up the file.


To add a bleed on InDesign go to:
File > Document Setup > Bleed & Slug
Enter 5mm to in the first box ‘Top’ and it should automatically change the other boxes to be the same. If it doesn’t, make sure the link icon on the right of the bleed settings is clicked on, this will ensure all your settings are the same. By default, your bleed will appear as a thin red line around the area of the page or spread. Extend your images, artwork or background colour to this line. When exporting the document to a PDF, under ‘Marks and bleed’ make sure ‘Use document bleed settings’ is ticked. Check with your printers whether the crop and bleed marks need to be included as this is down to their discretion.
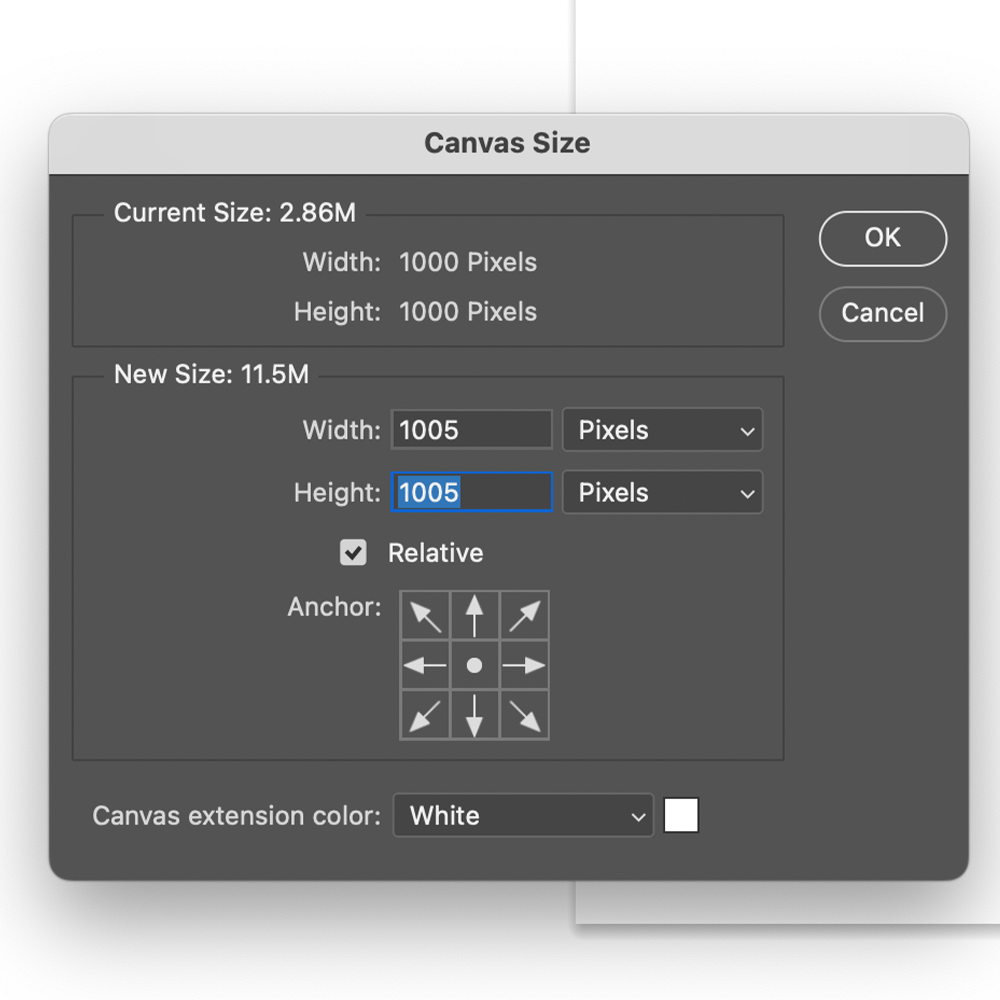
To add a bleed in Photoshop go to:
Image > Canvas Size
Then update your canvas size to add 5mm to the width and height of the canvas. Make sure the Canvas Extension colour is set to white or the same as your artboard, and then extend any images, artwork or background colours you want to be at the edges of your printed document to the edges of the artboard. When exporting the document to PDF, it will export as the size of the canvas so you do not need to do anything extra to include the bleed.