

UV Printing
We can print CMYK+W on any material giving you full colour on even the most complex designs. We can print full bleed onto most covers, including our leather notebooks.
If you’re looking for a sweeping, seamless gradient or an extremely intricate colour design on your journals, UV Digital Printing (Full Colour Logo) is the best option for a substrate that cannot be run through an offset or digitally printed process. It is perfect for colourful logos and great for bringing your brand to life. UV inks allow for an effect similar to that of screen printing, however UV printers work very much like an inkjet printer, allowing you to integrate colours easily.
The effect of UV printing tends to be a matt one, as most of the inks available in the market are matt as standard. If you would like a gloss finish please let us know and we can add this on certain materials (Vegan and faux leather)
Do’s:
Add UV Spot Varnish to make parts of your design more vibrant and stand out.
Dont’s:
Don’t print on dark cloth, UV printing lends itself much better to light colours.
Setting up artwork for UV Printing
For UV printing, artwork can include a full-colour range and requires print-ready PDFs, prepared with 300 dpi resolution and CMYK colour profiles. Ensure you use vector artwork for any logos or text to maintain clarity at all sizes.
Populating our templates
Populating our templates is very straight forward, simply open the template file with Adobe Illustrator and populate it with your designs. The template we will provide you with is ready to print and inclusive of the necessary bleed marks. Just ensure that all of the design elements you add into the template meet our requirements.
- Your logo or design should be in vector format.
- Ensure all text is ‘outlined’ to make it vector format
- All lines must be at least 1.0 point thickness
- PDF should be exported to CMYK Colour
- PDF Should be exported with all marks and bleeds
- Name and organise your layers correctly within the template
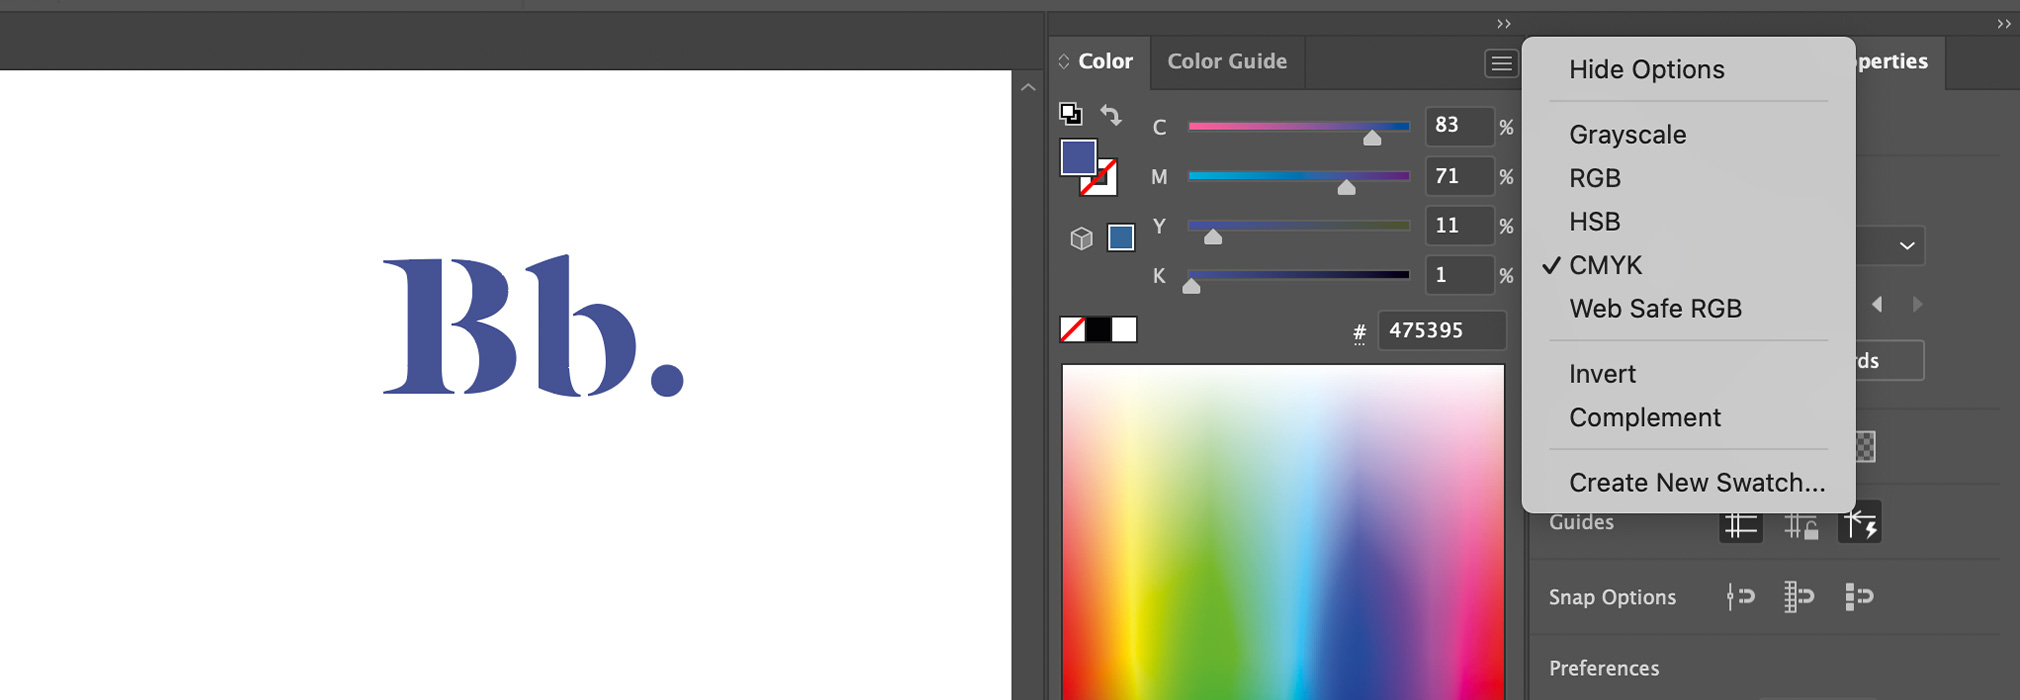
CMYK Colour Profile
We require printed artwork to be provided in CMYK+W (Cyan, Magenta, Yellow, and Key/Black and White) for accurate colour reproduction during the printing process. Using the correct colour profile ensures that your designs come out exactly as expected, avoiding any unwanted shifts in colour. Illustrator allows you to embed CMYK and pantone colours directly into the file. You can do this following the steps below:
File > Colour Mode > Select the CMYK profile.
You can then see in the colour view that all the solid colours you’re inputting are set to CMYK.
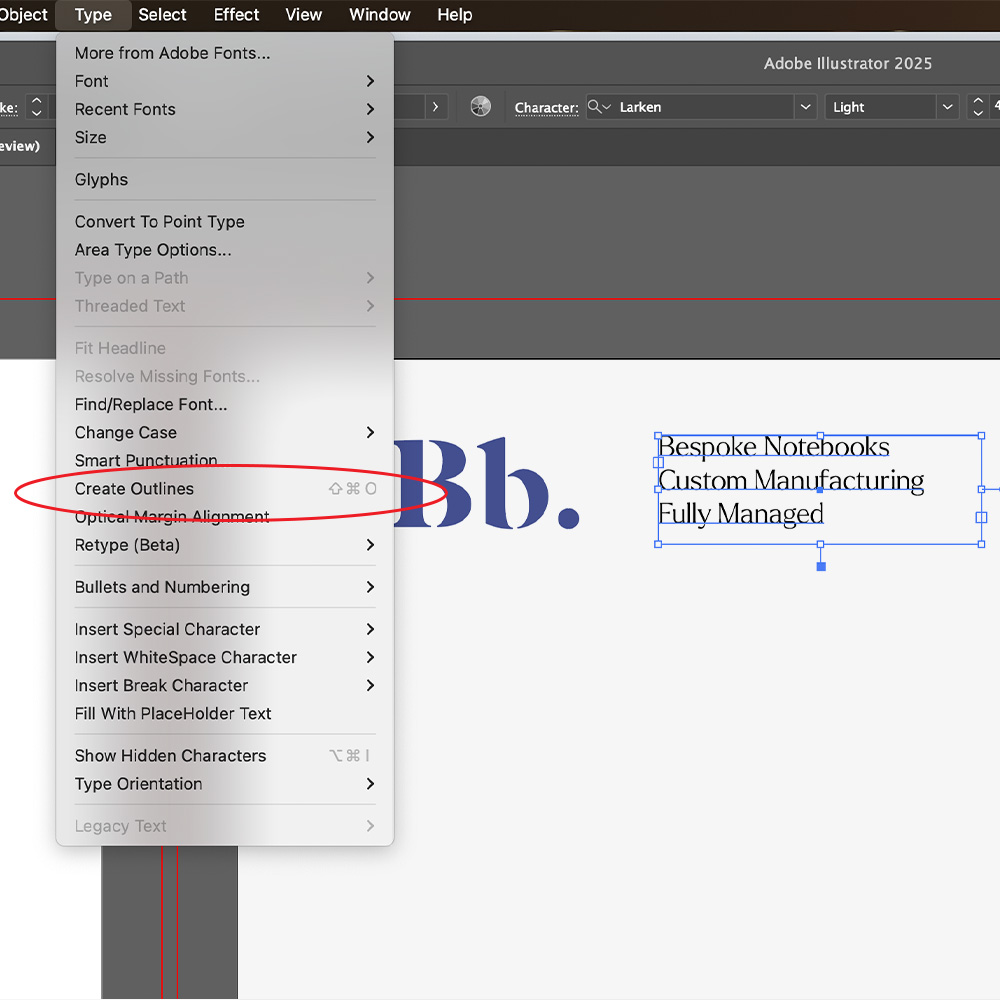
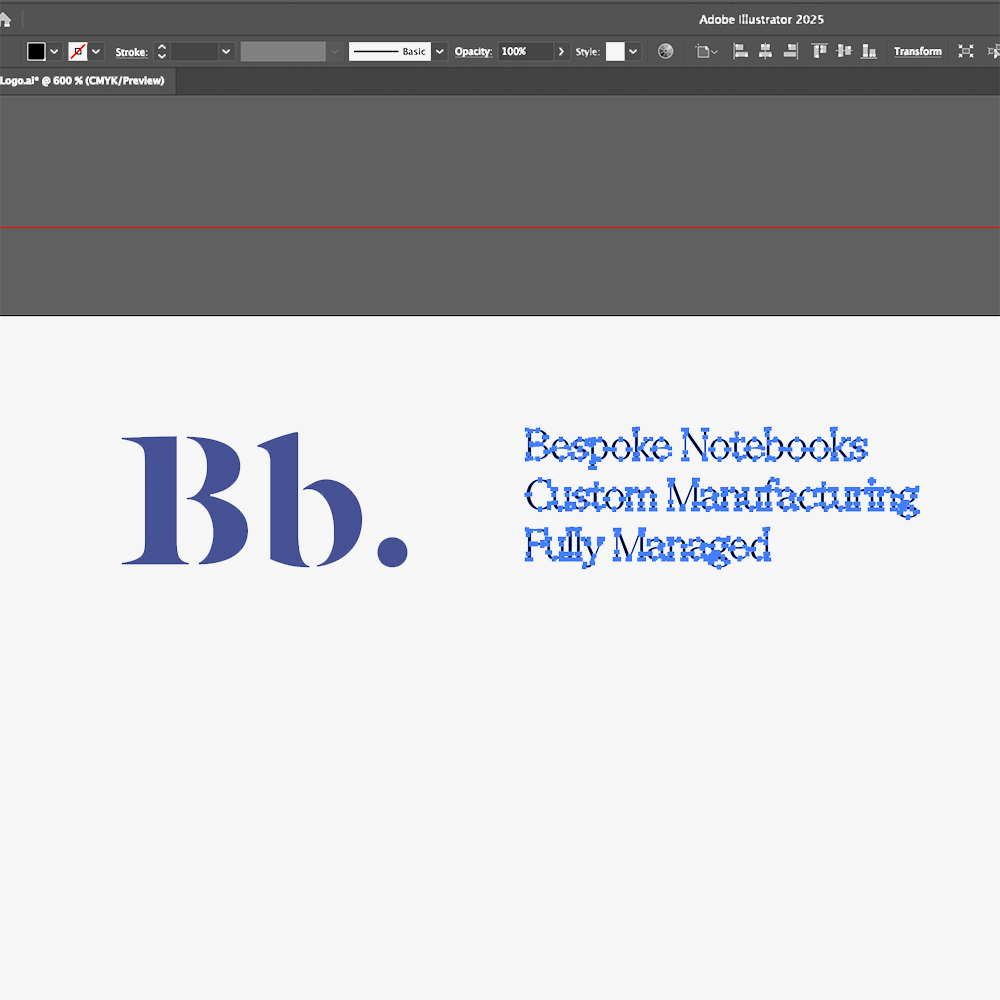
Vectorising Text Layers
Outline your text, this ensures that there are no missing fonts or changes in typography styles when files are supplied for print.
How to: Select the text you want to outline, go to the menu and select Type > Create Outlines (or press Shift + Ctrl + O on Windows / Shift + Command + O on Mac).
Adding Images / Photos To Your Artwork
Artwork Images should be exported to CMYK, 300 dpi and then embedded within your files. You can use photoshop to export your image files to the correct colour profile and resolution following these steps:
Open Photoshop > New Document > Then choose a preset or enter the document size and remaining details. Just ensure that your resolution is 300 dpi and colour mode is set to CMYK.
To embed a file in Illustrator, simply click on the image you’ve added, then click on the image you want to embed, go to the properties panel to the right and select the ‘Embed’ button.
Your artwork should then be ready to be saved as a PDF, this can be done by clicking:
File > Save > Click dropdown > Adobe PDF.
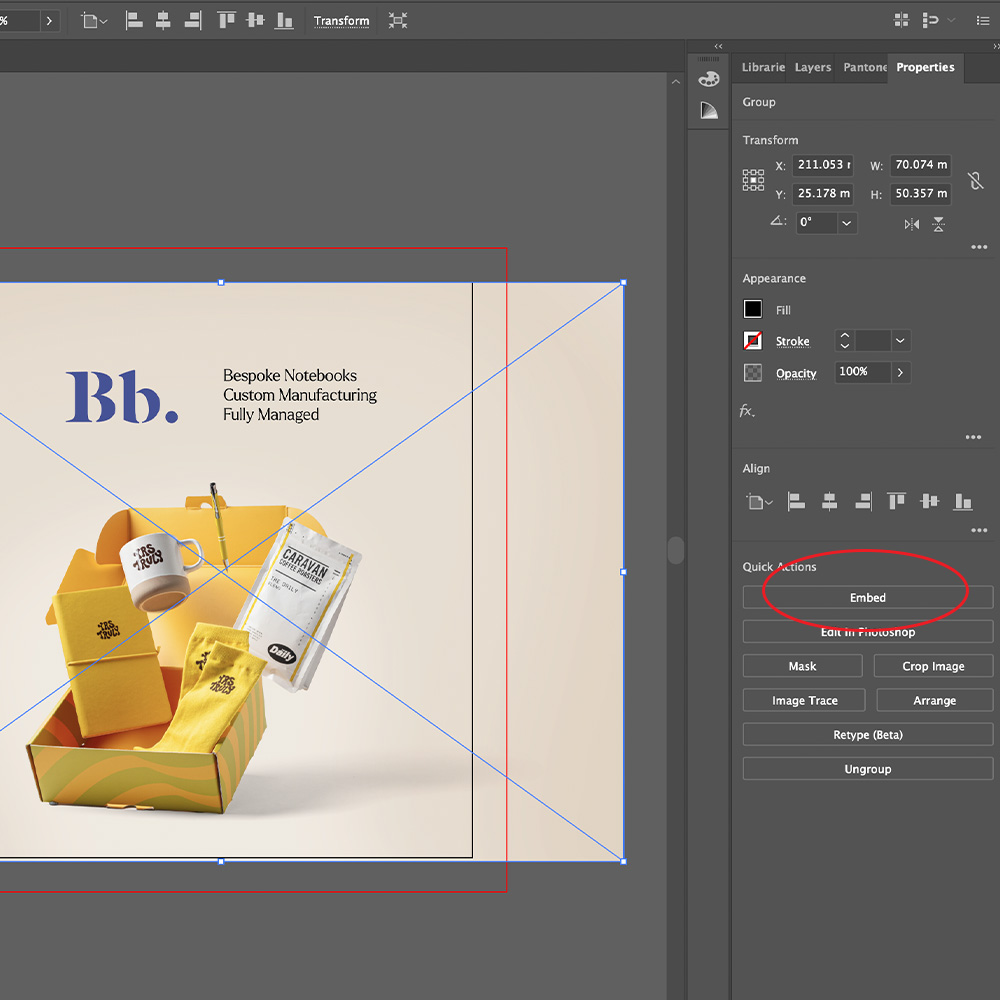
Select your image and click the ’embed’ button in the properties panel
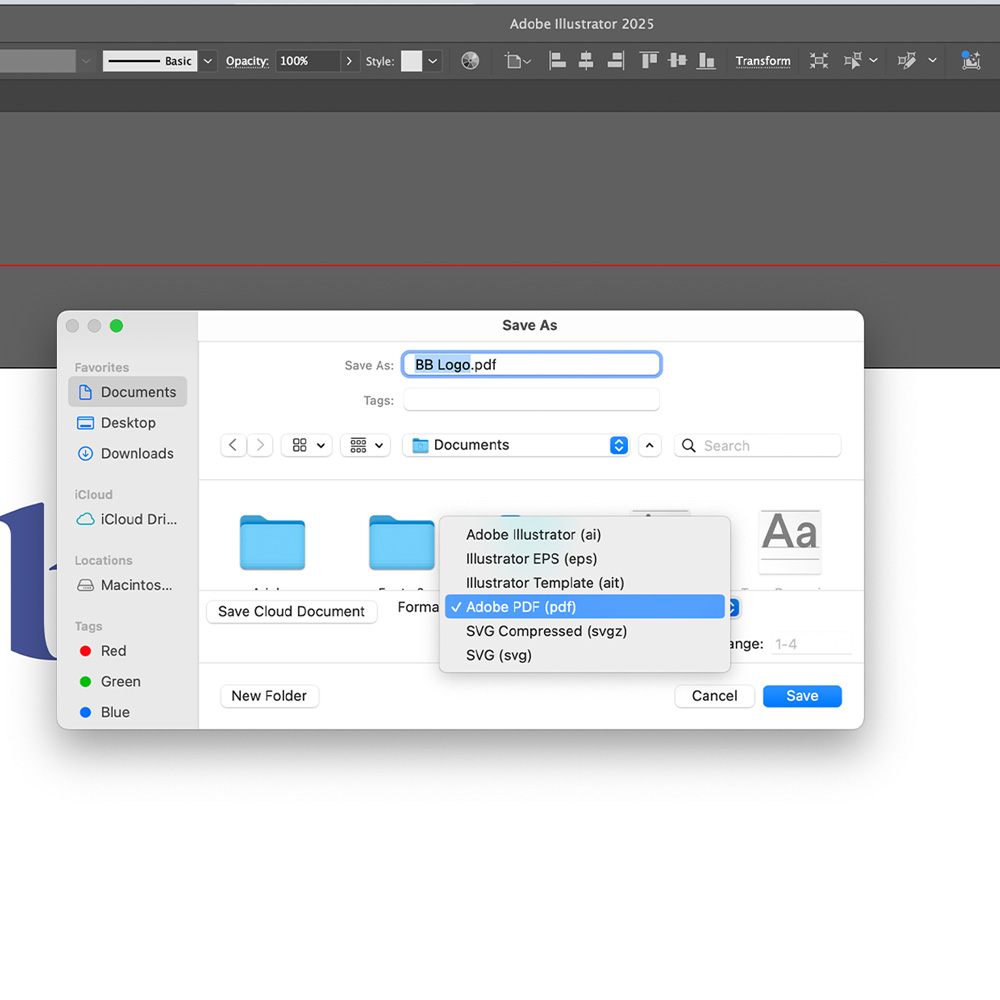
Export PDF: File > Save > Click dropdown > Adobe PDF.