
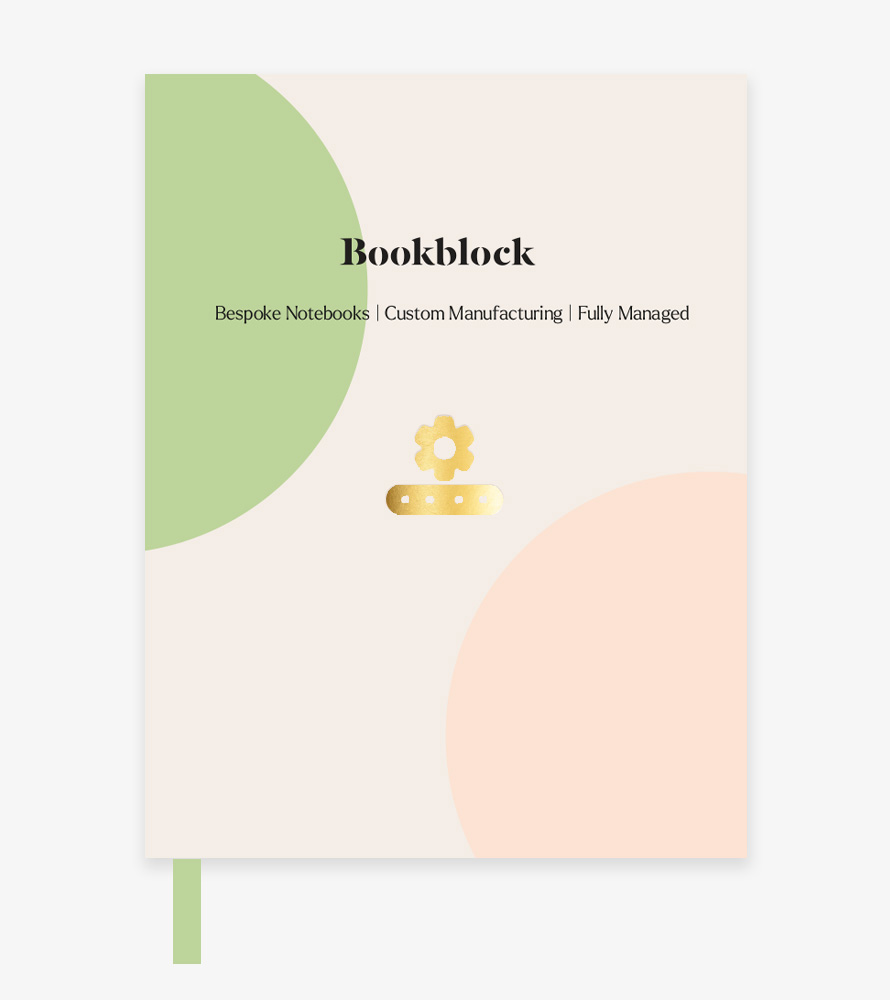
Foiling
A popular technique used to add metallic touches to your notebook for an elevated finish that has an elegant feel.
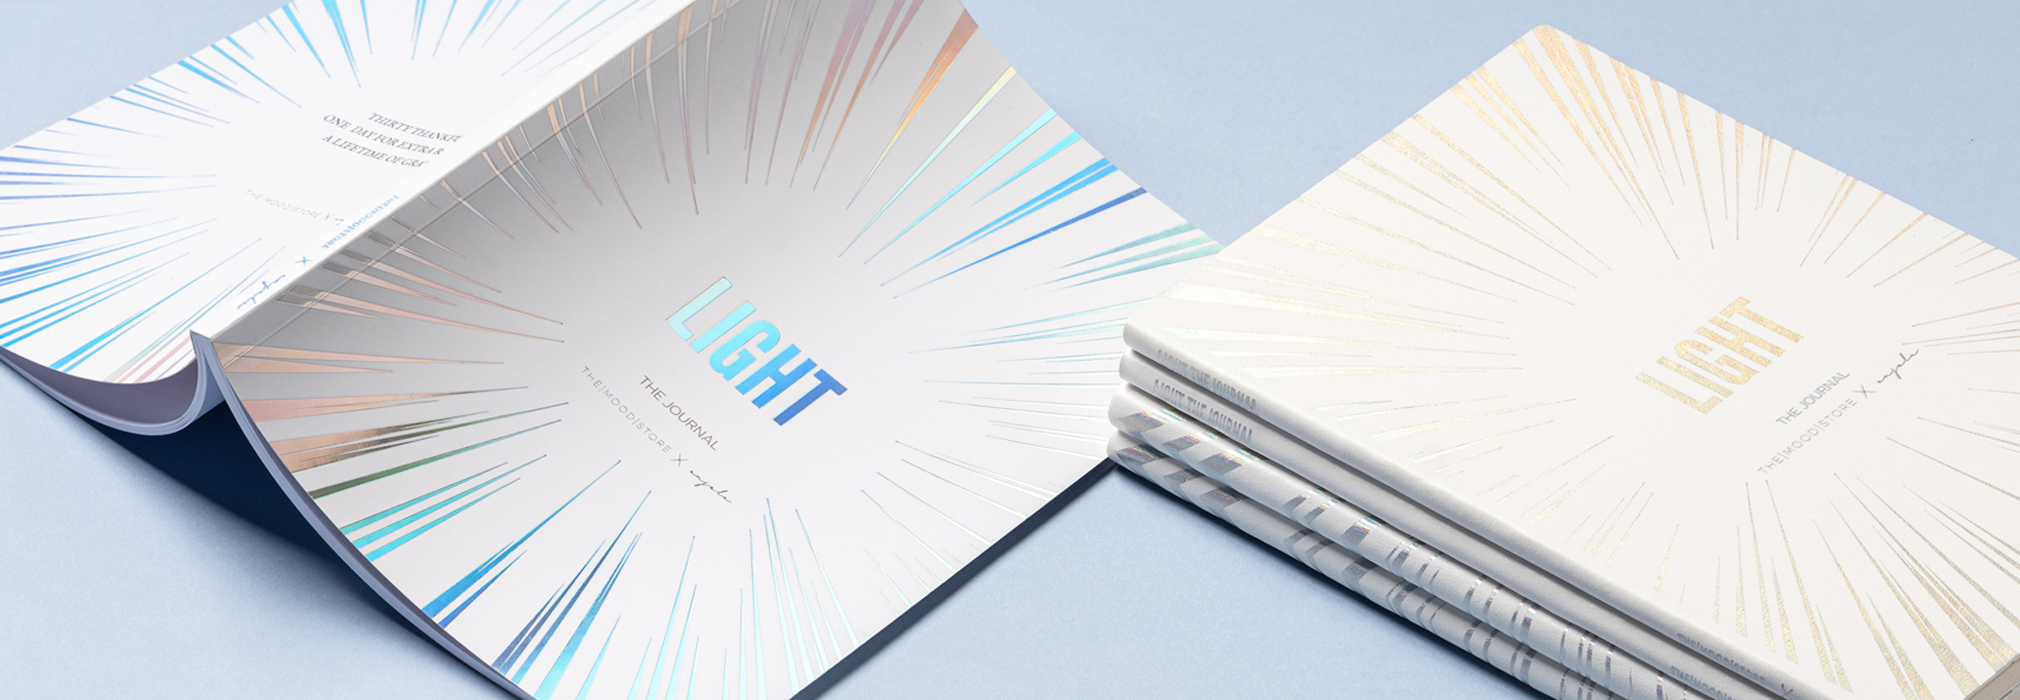
What is Foiling?
Foiling a notebook requires a brass die to be made with a design or logo, it is then heated and pressed onto a layer of thin foil film and the notebook cover. This method leaves a small impression in the material and a crisp foiled design. Foiling is a perfect way to add some colour to your notebooks with your brand at the forefront.
We keep your die-stamp on file so that you can come back to us whenever you want for repeat orders.
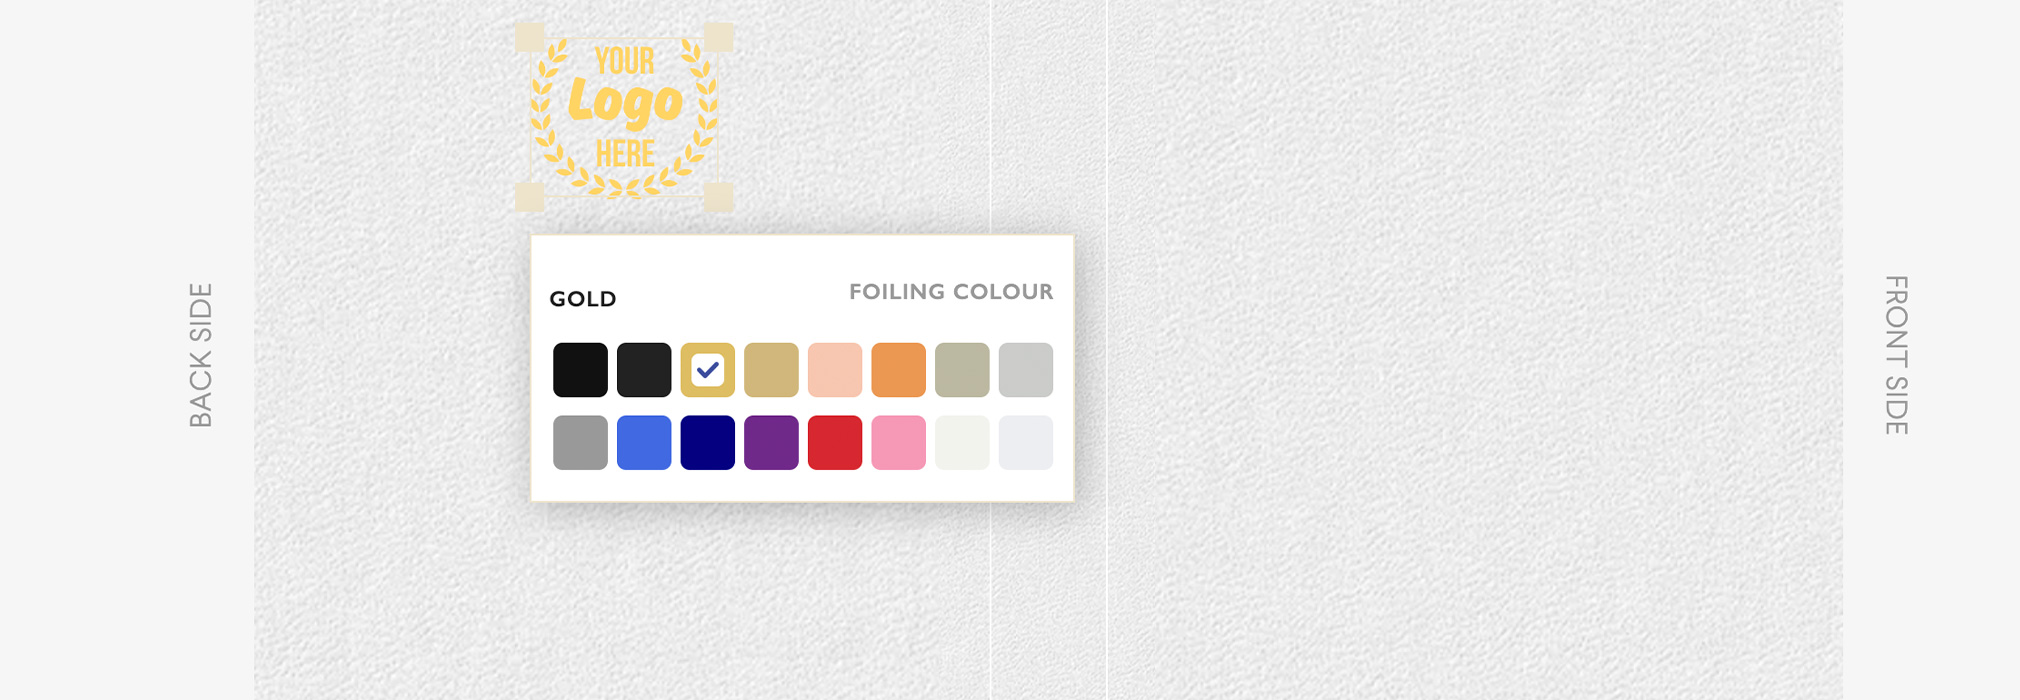
Our selection of foil colours
The most popular options for foiling are metallic gold and metallic silver. However, there are many other options available. The colours include:
Black, Matte Black, Gold, Matte Gold, Rose Gold, Copper, Silver, Matte Silver, Matte Grey, Royal Blue, Navy, Purple, Red, Pink, White and Matte White.
Can I foil my logo on any notebook?
Yes, pretty much. Foiling can be achieved on all kinds of material, from card to leather including cloth. Best materials for foiling are:
- Real Leather
- Card
- Faux Leather
- PU/ Vegan leather
- Cloth (results can vary depending on design)
We don’t recommend intricate or complex debossing on cloth or heavily textured faux leathers as detailing can be lost.
With certain materials such as printed paper, textured papers, cloth, vegan leather we are unable to seamlessly deboss over the cover. We are unable to brand within 8mm of the spine this is to allow for the hinge of the cover.
Do’s
- Get creative with your design
- Use sans serif fonts
- Consider the material your cover will be and how well it will show
Dont’s
- Don’t use small fonts as nothing lower than 11pts will be legible
- Do not include elements that are less than 1.0 point thickness. By including fine lines and small text in your design you will risk foil bleed.
- Don’t use text which has any spacing less than 1mm
- Don’t place your design too close to the edges of the notebook unless its a full bleed design
- Don’t mix foil colours – use a single colour as this can create registration/ placement issues
- Don’t fill large areas with foil
Setting up artwork for foiling
- Your logo or design should be in vector format.
- All lines must be at least 1.0 point thickness
- Allow at least 1mm spacing between elements
- Place the logos at least 4mm from any edges of the notebook
- Smallest font should be 11pts
File requirements
Submit your cover artwork in a PDF file with all foiled elements as a solid black (CMYK value 100% ‘K’) vector file. If you’re mixing customisations then you need to submit:
- A file which includes vectorised elements that will be printed
- A separate file with a solid black version of the design that will be foiled
PDF file 1: Printed elements only
PDF file 2: Foiled elements only
Digital proof of final cover design
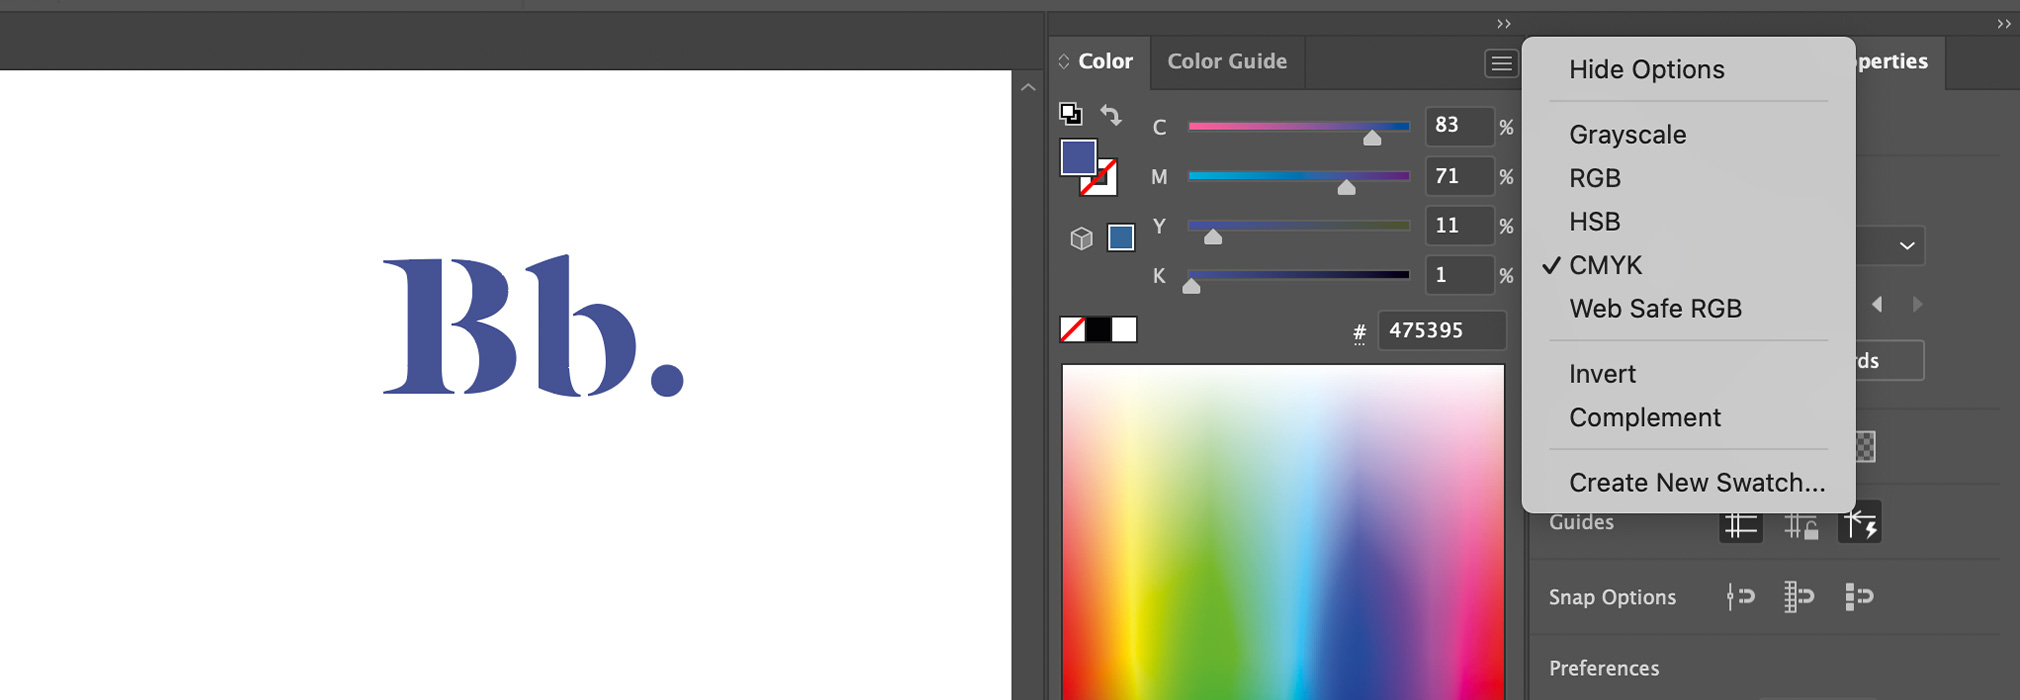
CMYK Colour Profile
We require printed artwork to be provided in CMYK+W (Cyan, Magenta, Yellow, and Key/Black and White) for accurate colour reproduction during the printing process. Using the correct colour profile ensures that your designs come out exactly as expected, avoiding any unwanted shifts in colour. Illustrator allows you to embed CMYK and pantone colours directly into the file. You can do this following the steps below:
File > Colour Mode > Select the CMYK profile.
You can then see in the colour view that all the solid colours you’re inputting are set to CMYK.
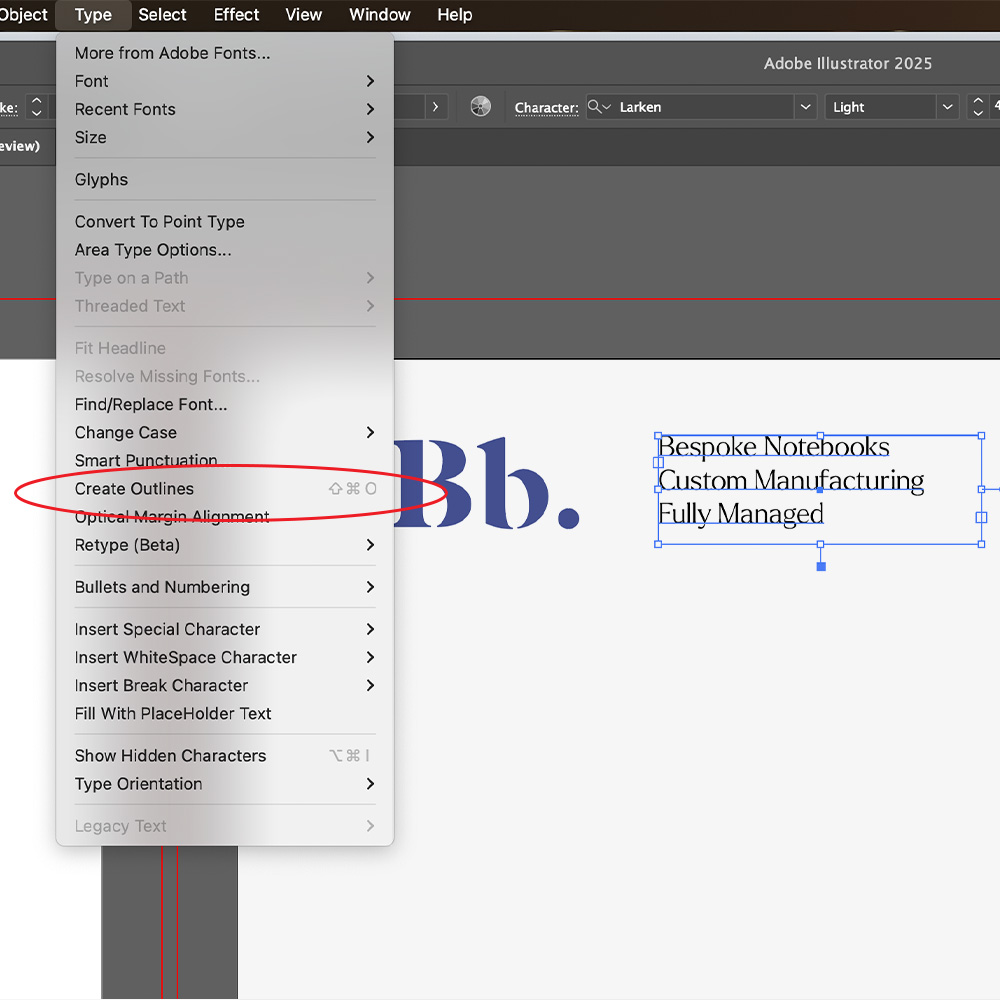
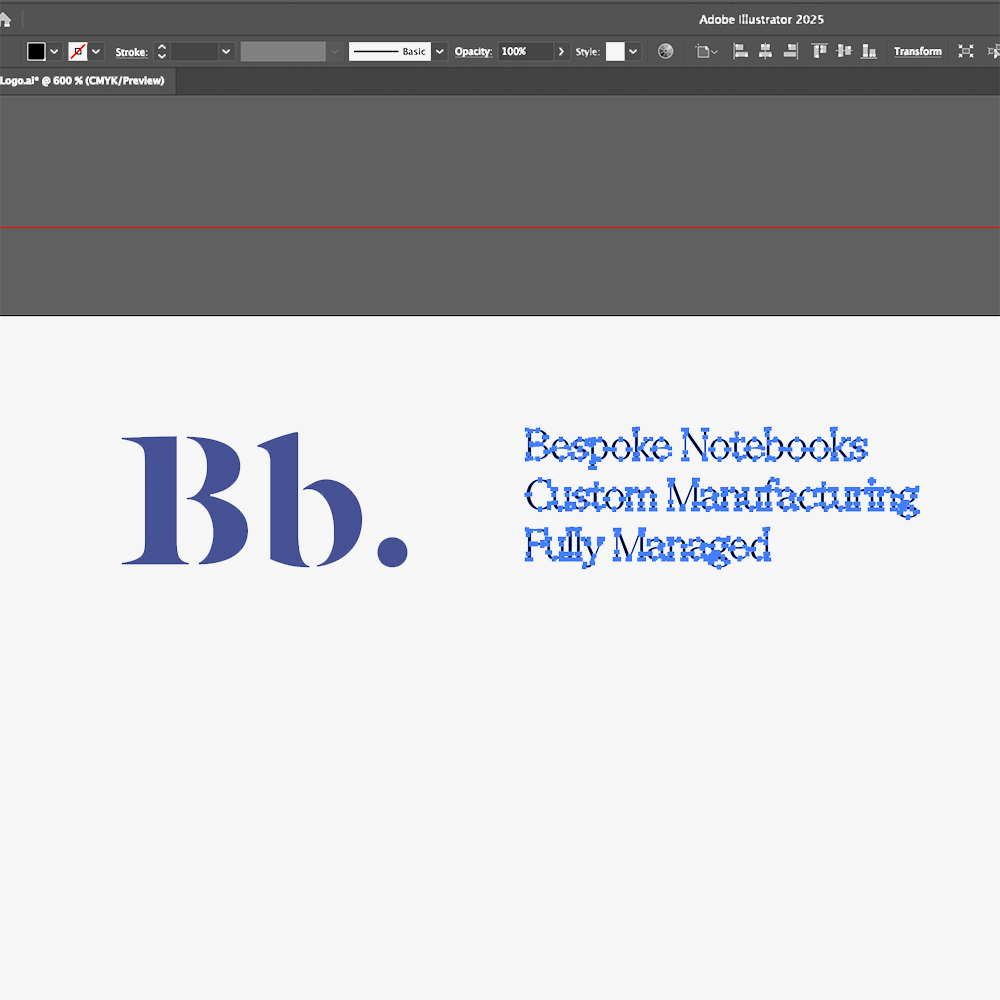
Vectorising Text Layers
Outline your text, this ensures that there are no missing fonts or changes in typography styles when files are supplied for print.
How to: Select the text you want to outline, go to the menu and select Type > Create Outlines (or press Shift + Ctrl + O on Windows / Shift + Command + O on Mac).